How to Set Up a Fusion5 Windows Tablet for Kiosk Mode
Wanting to set up a kiosk with a Windows tablet and need a quick guide to help you along? Well, you’re looking in the right place. We’ve created this step-by-step Windows 11 Kiosk Mode (Assigned Access) setup guide to help users get maximum success on day one.
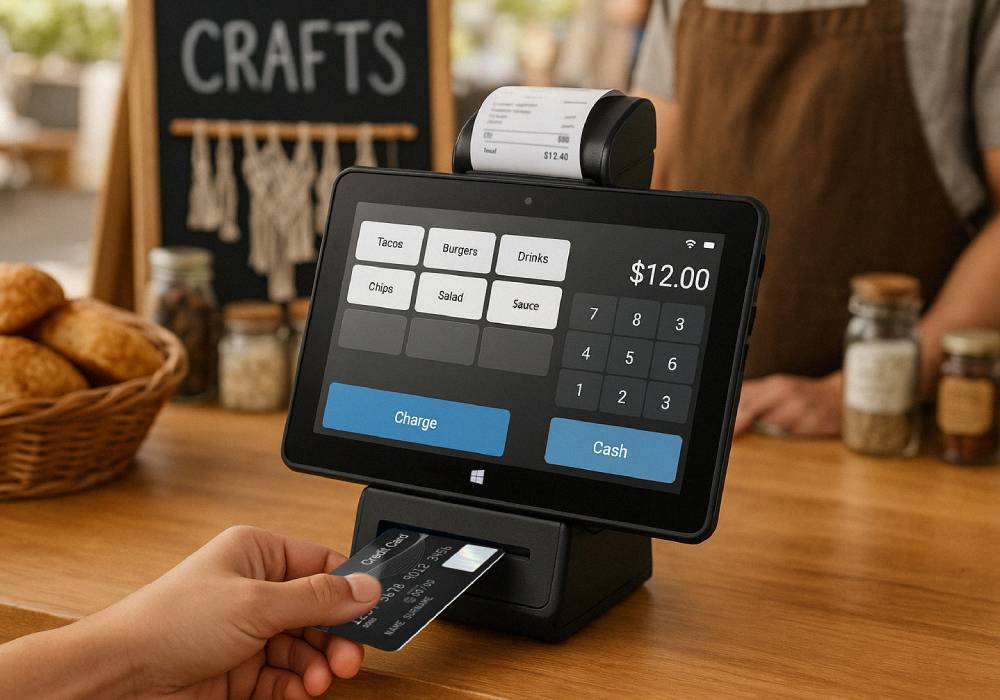
For this guide we’ll use our Fusion5 Pro N5 model as the reference for specs and capabilities. With its 10.1" FHD touchscreen, Intel N100 performance, and Windows 11 options, it’s a practical and affordable fit for retail, check-in, menus, tickets, and digital signage.
Below we’ll walk you through the Assigned Access set up, auto sign-in settings, what to configure on browser settings and more helpful steps to get you started.
Full Blog: Windows Kiosk Mode Checklist for Day One Success
What You Need
- Windows 11 OS compatible tablet (like the Fusion5 Pro N5)
- A stable Wifi connection and an app or url for your kiosk
- One account for admin roles and another account for the kiosk itself
Step 1: Update and Prep Tablet
Open Settings, run Windows Update, install everything, then restart. Connect to Wi-Fi and confirm date and time. Sign in with your admin account for setup.
Step 2: Choose Your Kiosk Type
Single-app setup versus multi-app:
Single-app means that the tablet will stay on one url while in kiosk mode.
Multi-app means the setup will allow users to open approved apps on the tablet during use.
Tip: If you’re not sure which to choose, go for the single-app as it’s easiest for managing to start.
Step 3: Create Account for Kiosk and Assign App
Go to Settings > Accounts > Other > Users > Set Up a Kiosk > Get Started
Once you have created the account (or selected an existing one), choose Microsoft Edge for web content or select your UWP (Universal Windows Platform) app. If you pick Edge, choose Digital or Interactive Signage for one URL, or Public browsing for a limited browser session. Turn on Automatically sign in for the kiosk account.
Step 4: Microsoft Edge Configuration
Set a starting url in the browser settings if your kiosk will be using Edge (or another browser). In the Privacy and Security settings, enable the option that clears browsing data every time the user exits (“clear browsing data on close”). For security purposes, make sure to disable downloads so users cannot accidentally download malware from the browser. Also, it’s recommended to enable offline caching so content stays visible during times where WiFi is unstable.
Step 5: Power and Auto Sign-In Setup
Go to Settings > Accounts > Sign-in options > enable automatic sign-in for the kiosk account
In the Power and Battery section, set “Screen” and “Sleep” options to “Never” for the kiosk user so it stays open when not in use. Plan a nightly auto-restart so the updates are complete outside of essential business hours.
Step 6: Essential Security
Keep the kiosk account set as a standard user. Turn on BitLocker if you’re using Windows 11 Pro OS on your tablet. Hide or secure physical ports in public spaces. If you manage multiple tablets, consider Intune or another MDM to push the same policy everywhere.
Step 7: Multi-App Quick Note
If you need more than one app, switch to the multi-app option in Assigned Access and include only what is required. Keep the layout simple to reduce support issues.
Step 8: Testing Checklist
- Boots straight to the right app or page
- Touch works across the 10.1 inch FHD display
- Screen does not sleep during open hours
- Forms, links, printing, and media work
- Restart returns to the kiosk automatically
- No personal data remains after each session
Ready for a Successful Deployment
We hope this guide helped you set up a Windows tablet kiosk quickly and with confidence. If you are comparing hardware or need a Windows tablet for kiosks, digital signage, or everyday work, explore the Fusion5 Pro N5 and our full Windows tablet lineup at Fusion5store.com.